Caulking Tips
Caulking tips are essential for any DIY enthusiast or homeowner looking to improve the durability and aesthetic appeal of their property. This guide delves into the art of caulking, from selecting the right material and preparing the surface to apply the caulk and maintaining the finished result. We’ll explore various techniques, troubleshoot common problems, and ensure you achieve professional-looking results every time. Whether you’re sealing gaps around windows, waterproofing a shower, or tackling exterior siding, this comprehensive guide provides the knowledge and skills you need for success.
We’ll cover a wide range of topics, including choosing the appropriate caulk for different applications, mastering surface preparation techniques for optimal adhesion, and applying caulk with precision using the right tools. We’ll also address common caulking issues and provide solutions for fixing them, ensuring your projects are completed efficiently and effectively. Learn how to maintain your caulked areas for long-term performance and discover valuable safety precautions to ensure a safe and successful caulking experience.
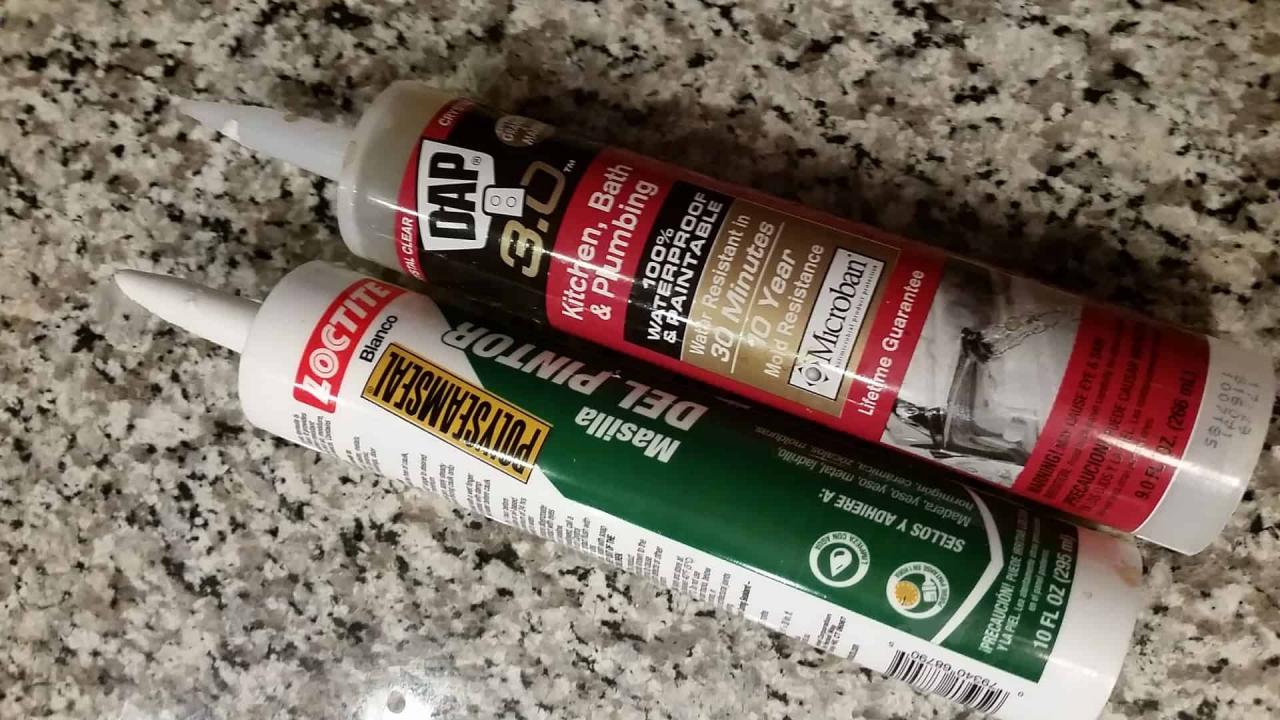
Choosing the Right Caulking Material
Selecting the appropriate caulking material is crucial for a successful and long-lasting seal. The choice depends on several factors, including the location (interior or exterior), the type of surface being caulked, and the level of flexibility and adhesion required. Understanding the properties of different caulking materials is essential for making the right decision.
Caulking Material Comparison
The following table compares three common caulking materials: silicone, acrylic latex, and polyurethane.
| Property | Silicone | Acrylic Latex | Polyurethane |
|---|---|---|---|
| Flexibility | Excellent | Good | Excellent |
| Adhesion | Excellent | Good | Excellent |
| Water Resistance | Excellent | Good | Excellent |
| Paintability | Poor | Excellent | Poor |
| Durability | Excellent | Good | Excellent |
| Uses | Bathrooms, kitchens, exterior applications | Interior trim, window frames | Exterior applications, gaps requiring high flexibility |
| Limitations | Difficult to paint | Lower durability in exterior applications | Can be messy to apply |
Factors to Consider When Selecting Caulking
Several factors influence the choice of caulking material. Interior applications often prioritize paintability and ease of application, while exterior applications demand superior weather resistance and durability. The type of surface also plays a significant role; some caulks adhere better to certain materials than others. Flexibility is crucial in areas subject to expansion and contraction, such as exterior joints. Adhesion ensures a strong, long-lasting seal.
Importance of Flexibility and Adhesion
Flexibility allows the caulk to move with the expansion and contraction of the materials it seals, preventing cracking and maintaining a watertight seal. Strong adhesion ensures the caulk stays firmly in place, preventing gaps and leaks. The combination of both properties is critical for a successful caulking job, particularly in exterior applications or areas exposed to significant temperature fluctuations.
Surface Preparation Techniques

Source: futurecdn.net
Proper surface preparation is paramount for achieving a strong, long-lasting caulk seal. This involves cleaning the surface, removing old caulk, and creating a properly shaped caulking groove. A clean, dry surface ensures optimal adhesion.
Cleaning and Preparing the Surface
Source: krystalklean.com
Begin by thoroughly cleaning the surface to be caulked. Remove any loose debris, dirt, dust, or old caulk using a scraper, wire brush, or putty knife. For stubborn residue, a solvent or degreaser may be necessary. Ensure the surface is completely dry before proceeding. Any remaining moisture can compromise the adhesion of the new caulk.
Creating a Properly Shaped Caulking Groove
A properly shaped groove helps ensure the caulk adheres effectively and prevents it from shrinking or cracking. The groove should be clean, slightly wider, and deeper than the caulk bead’s intended width. This allows for adequate caulk volume and prevents the caulk from being squeezed out too thinly.
Ensuring a Dry Surface
Moisture is the enemy of good caulking. Even slight dampness can prevent proper adhesion, leading to premature failure of the caulk. Allow ample drying time before applying caulk, especially in damp areas like bathrooms or kitchens. Using a hairdryer or dehumidifier can accelerate the drying process.
Applying Caulking: Methods and Techniques
Applying caulk correctly requires the right technique and tools. A consistent bead size and proper smoothing are essential for a professional finish. Different applications require variations in technique.
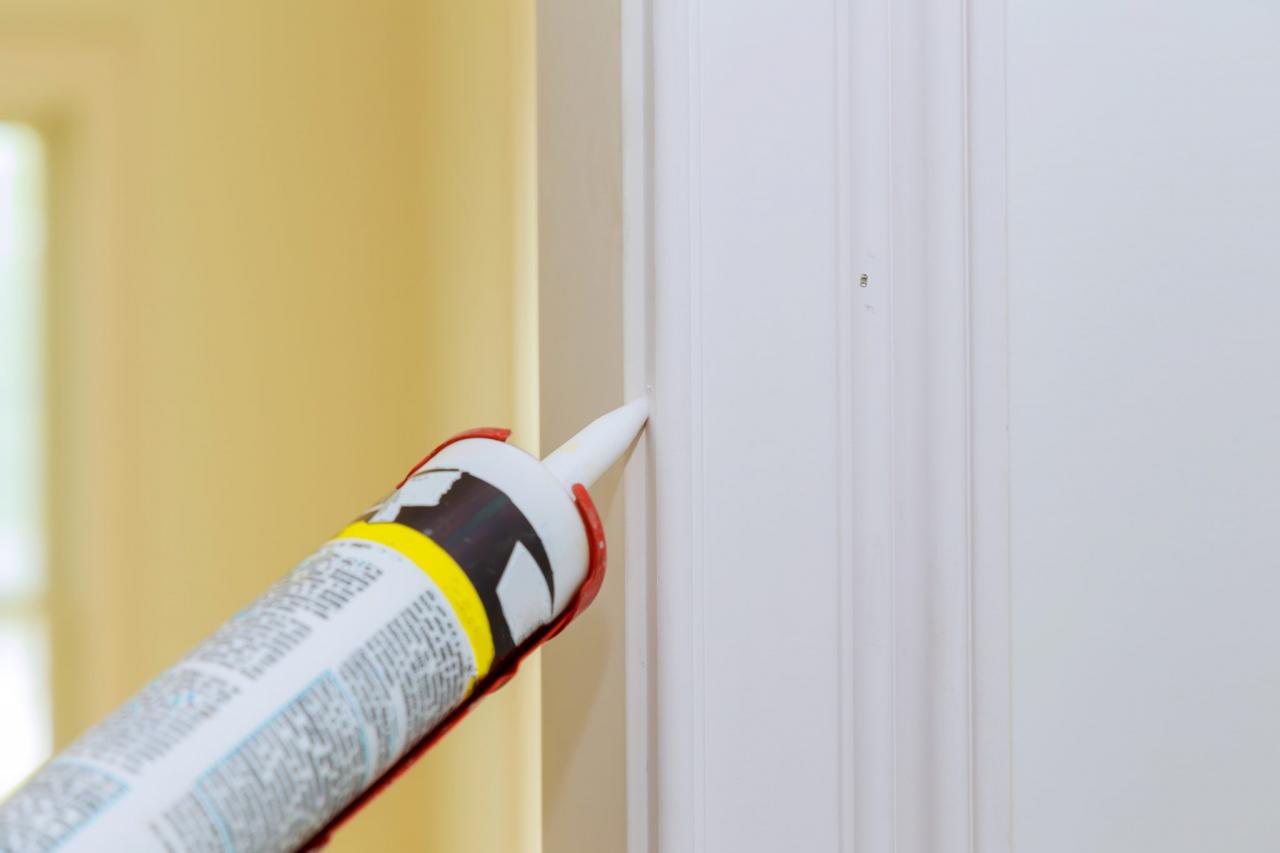
Applying Caulk with a Caulking Gun

Source: alllosangelespaintingcompany.com
Load the caulking tube into the caulking gun. Start at one end of the gap, maintaining a steady pressure on the trigger to produce a consistent bead. Move the gun smoothly and at a constant speed. Avoid gaps or interruptions in the bead. A steady hand and practice will help to achieve this consistency.
Smoothing the Caulk Bead
Immediately after applying the caulk, use a wet finger, a smoothing tool, or a damp sponge to smooth the bead. This removes excess caulk and creates a neat, professional finish. Work quickly before the caulk begins to skin over.
Caulking Techniques for Various Situations
- Corners: Use a backer rod to fill deep corners before applying caulk, then smooth it neatly.
- Windows and Doors: Apply caulk in a continuous bead, pressing it firmly into the gap.
- Bathtubs and Showers: Apply a thin, even bead, pressing it firmly against the surface to create a waterproof seal.
- Exterior Siding: Apply caulk to the gaps between siding panels, ensuring complete coverage and weather protection.
Troubleshooting Common Caulking Problems
Several issues can arise during or after caulking. Understanding these problems and their causes can help prevent them and provide solutions for fixing existing issues.
Common Caulking Problems and Prevention
Cracking, shrinkage, and poor adhesion are common caulking problems often stemming from improper material selection, poor surface preparation, or incorrect application techniques. Using the right caulk for the application, ensuring a clean and dry surface, and following proper application techniques are crucial preventative measures.
Solutions for Fixing Caulking Issues
Fixing existing problems typically involves removing the faulty caulk using a scraper or putty knife, cleaning the surface, and then reapplying the caulk using the correct techniques and materials. In cases of severe damage or persistent issues, professional assistance may be required.
Caulking for Specific Applications
Different applications present unique challenges and require specific techniques to ensure a successful and long-lasting seal. Proper caulking is essential for maintaining the integrity of various structures and preventing water damage.
Caulking Around Windows and Doors
This requires careful attention to detail to prevent drafts and water infiltration. Use a flexible caulk with good adhesion, ensuring a complete seal around the entire perimeter of the window or door frame. The Backer rod may be beneficial for larger gaps.
Caulking Bathtubs and Showers

Source: renovopedia.com
Waterproofing is paramount in these areas. Use a silicone-based caulk with excellent water resistance. Apply a smooth, continuous bead, ensuring complete coverage to prevent leaks and mold growth.
Caulking Exterior Siding
Exterior caulking requires a durable, weather-resistant caulk. Consider the climate and temperature fluctuations when selecting the material. Apply caulk evenly to gaps between siding panels, paying close attention to areas exposed to direct weather elements.
Tools and Equipment for Caulking
Having the right tools makes the caulking process easier and yields better results. Proper tools ensure accurate application and a professional finish.
Essential Tools and Equipment
- Caulking Gun: A tool used to dispense caulk from its tube.
- Smoothing Tool: Used to create a smooth, even bead of caulk.
- Putty Knife: For removing old caulk and cleaning surfaces.
- Scraper: To remove stubborn old caulk.
- Backer Rod: Used to fill large gaps before applying caulk.
Proper Use of Tools
Each tool plays a specific role in achieving a successful caulking job. The caulking gun applies the caulk evenly, while the smoothing tool ensures a professional finish. Putty knives and scrapers prepare the surface, and the backer rod helps manage large gaps efficiently.
Maintaining and Repairing Caulked Areas: Caulking Tips
Regular inspection and maintenance of caulked areas are essential for ensuring their long-term performance and preventing water damage. Knowing when and how to repair or replace caulking is crucial for maintaining a watertight seal.
Inspecting and Maintaining Caulked Areas
Source: com.au
Regularly inspect caulked areas for cracks, shrinkage, or gaps. Clean any dirt or debris from the caulked surfaces. If minor damage is noticed, it may be possible to repair it by simply cleaning the area and applying a thin layer of new caulk. However, if significant damage is present, complete removal and replacement are necessary.
Repairing or Replacing Caulking
Removing old caulk involves carefully using a scraper or putty knife to remove the old material. Clean the surface thoroughly before applying the new caulk. Follow the same application techniques as Artikeld previously.
Safety Precautions During Caulking

Source: toolstale.com
Working with caulking materials requires adherence to safety precautions to prevent injury and environmental damage. Proper handling and disposal are crucial.
Safety Precautions
- Ventilation: Ensure adequate ventilation when working with caulking materials, as some can release fumes.
- Eye Protection: Wear safety glasses to protect your eyes from splashes or debris.
- Gloves: Wear gloves to protect your hands from the caulk material.
Cleanup Procedures, Caulking tips
Clean up spills immediately using appropriate solvents or cleaners. Dispose of used caulk and containers according to local regulations.
Safe Disposal of Caulking Materials
Dispose of used caulking materials and containers properly, following local guidelines for hazardous waste disposal. Avoid discarding them in regular trash bins.
FAQ Summary
Can I use the same type of caulk for both interior and exterior applications?
No. The exterior caulk needs to be more weather-resistant than the interior caulk. Choose a caulk specifically designed for outdoor use.
How long does caulk typically last?
The lifespan of caulk varies depending on the type, application, and environmental conditions. However, most caulks need replacing every 5-10 years.
How do I clean up excess caulk?
Clean up excess caulk immediately using a damp cloth or sponge before it dries. For dried caulk, a caulk remover tool may be necessary.
What is the best way to dispose of used caulk tubes?
Check your local waste disposal regulations. Often, empty and cleaned caulk tubes can be recycled, but the dried caulk itself might require special disposal.
Is it necessary to prime the surface before applying caulk?
Priming isn’t always necessary, but it can improve adhesion, especially on porous surfaces. Check the caulk manufacturer’s instructions.